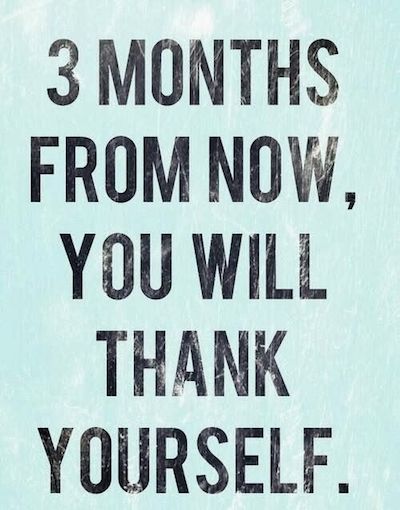
It’s the new year and a great time to kickstart your fitness program or to take stock of the progress you’ve made so far.
One of the best ways to track weight loss or muscle gain progress is to make sure you take your before and ‘after’ photos.
OK, you might be embarrassed or uncomfortable taking the all-important before photo.
It may be that you’re unhappy with how you look at the moment, particularly if you’ve been snacking and drinking a bit more than you wanted to over the Christmas holidays, which is all too easy to do.
It is vital to capture the beginning of your fitness journey with a photo.
As much as you might not want to do it right now, you will be glad you did.
Once you’ve taken that first photo your journey has begun, and with hard work and discipline your body will begin to transform.
Everything that follows that photo is all part of the ‘after’ and you’ve propelled yourself forward to become a fitter, stronger you.
Congratulations!
Now, as fitness can be a lifelong commitment and lifestyle choice, there really are no ‘after’ photos, more a series of ‘during’ photos that show your continual progression and metamorphosis.
Imagine yourself looking back at your before picture in the weeks and months to follow and seeing how your body has changed.
Visualise the sense of achievement and the rush that you’ll get as you compare your changing body shape and see how far you have come each time you look back at that photo.
As much as you might hate the thought of having your picture taken, the differences you will see can motivate you to even higher fitness goals.
You might ask: “can’t I just measure and weigh myself instead?”
You could.
But the scales don’t move as quickly as the visual shape of your body changes. As your body’s fat and muscle ratio starts to alter, with fat burning and muscle toning taking place together, the scales probably won’t move all that much.
It’s the photos that are going to give you the best indication. And there’s nothing better than actually seeing the differences rather than reading them from a chart.
Sure, write down your measurements and record your weight. I definitely recommend it, and here’s a chart to help you track your measurements and weight progress, but it is no substitute for that before picture.
You need to do both.
Here are some tips for taking your before photo.
- Pick an uncluttered spot for your photo shoot with a light coloured background. You don’t want a cluttered background, use a plain wall or door.
- Make sure that you’re lit from the front and not behind, as that will show the detail of your body better. Also, if you can let some natural daylight in that will improve the photo too.
- Men, wear a pair of shorts. Ladies, wear a sports bra and shorts or a bikini. You want to be able to see your waist, belly and thighs.
- Take the photo in portrait mode instead of landscape. Make sure you get all your body in the shot.
- Ideally, get someone to take the photos for you. If don’t want to involve anyone, use a timer. Don’t take a selfie ort a shot of yourself in the mirror. Use a tripod or prop your camera on a table. A 10 second delay should give you enough time to get into position.
- Look straight ahead, smile if you want. Don’t cheat in the relaxed shots by sucking in your gut or tensing your muscles.
The Photos You Need To Take
At the very least, you need a front, back and side shot, all in a relaxed pose.
I take five in total:
Front View, Arms Down, Relaxed
Stand with your feed shoulder-width apart, arms at your sides, slightly away from your body so you can see the shape of your hips, waist and torso. Point your feet forwards. Relax your body, but don’t slouch.
You can even put your hands on your hips if you prefer, just make sure you have your hands in the same position for all future photos.
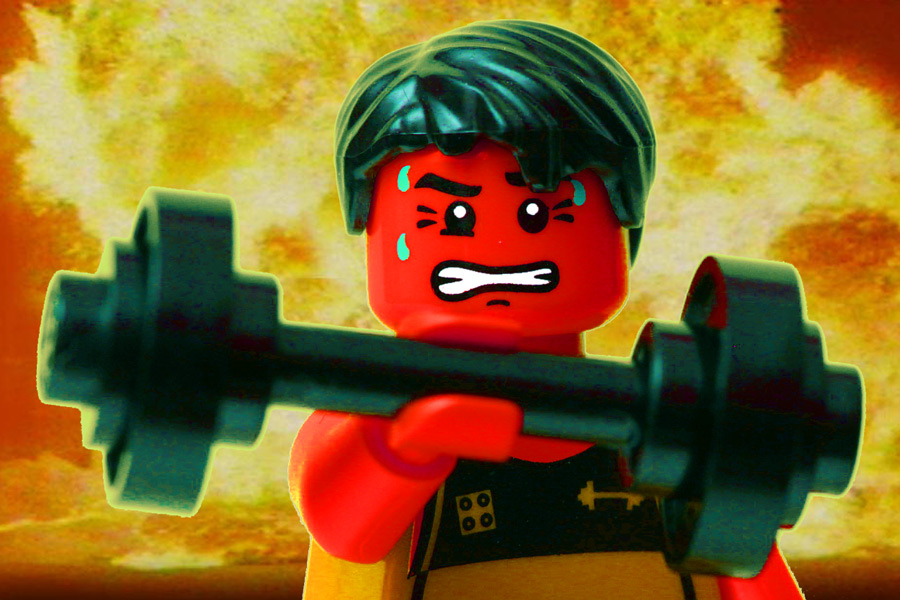
Front View, Double Bicep, Flexed (optional photo)
Not a necessity for a before photo, but it’s a nice one to have.
Similar stance to above, but tighten your body and flex your biceps in the classic strongman pose.
Bring your arms parallel with or slightly higher than the horizontal plane and bend your elbows.
Bring your elbows slightly forward, allowing you to squeeze your chest and spread your lats (the muscles that give your body a v-taper).
Cock your wrists down to fill-in the space between your arms and bicep, creating the look of fuller arms.
Men, stand with your legs straight and flexed with your feet pointing slightly outwards. Ladies, put one leg in front of the other.
Side View
Stand up straight, no slouching, with your arms hanging down at your sides. Make sure your hands are in the middle of your thigh. Look straight ahead.
Back View, Arms Down, Relaxed
OK, this is the same as front view, but you’re going to have your back to the camera. Obviously.
Back View, Double Bicep, Flexed (optional photo)
Same as the front view double bicep, but you also want to show your calf muscle progress, so bend one leg and move it back a little so you’re up on your toes and flex that calf. Make sure you bend the same leg for each future photo shoot.
And that’s it!
Upload the photos to your computer and make sure that you mark them with the date.
How often you take your ‘after’ photos is up to you, though don’t take them too often. I’d recommend once a month at the very most. Take the pictures in the same spot and under the same conditions, and wearing the same clothes.
Over to you! Go ahead, take those photos and watch the transformation unfold before your eyes. This exercise journey is going to be a rush!
Did You Find This Post Useful?
Stepping into a new workout program? Let me and the team know how you get on, we’d love to hear from you. Been working out for a while? Did you take before photos and, if not, do you wish you had?